What’s the easiest way of making a membership website for free using WordPress?
Membership websites are a great way of generating recurring income for you and your business. This form of income quickly builds up. The types of businesses that might need this are:
- Website hosting or website maintenance businesses (like us!)
- Reoccuring food/goods businesses
- Coaching/teaching websites that have recurring courses and content
- Subscribtion boxes for product based businesses
- Mentoring/tutoring business
If your looking for more help with website development please have a look at our website development services here. We also offer SEO services for your website to generate you more traffic from search engines!
What plugins we recommend to make your membership website
Theme: Astra for ease of use
When it comes to making your membership website this is a great theme to start off with. It’s easy to use and set up and it looks great. That with the Astra Starter Site plugin allows you to pretty much make an entire website instantly. You can use any of the other themes you like but for the purpose of this quick tutorial we recommend Astra, it’s completely free and very easy to use.
Plugin: Astra Starter Site
This plugin allows you to select a number of pre-made websites that you can use to generate a site almost instantly. This creates the entire site with pictures and text that you can change to match your content. Many of the sites are completely free, but if you wanted a more premium site, you can pay. We suggest that you select Elementor when choosing the page builder.
Plugin: Elementor
Your membership website will need a free page builder that is extremely powerful and easy to use. It allows you to create an entire website using drag and drop elements (hence the name!). You can then make a site look exactly as you like, as well as making a more mobile-friendly version. When making a website using Elementor we do recommend Pro version as it allows you to do so much more, but it’s not necessary for this tutorial.
If you are looking to use Elemento Pro the advantages are:
- Allows you to create a completely custom shop pages
- Custom popups
- Premium templates that allow you to get a professional look instantly
What’s the best free plugin to make a membership website on WordPress?
There are tonnes of plugins that do similar things. We have used many of these so we have a good idea of what works best. When selecting a plugin we have taken into consideration.
Price: Is it free? If so, does it actually work as intended?
Quality: Does the Membership plugin work for you and your customers
Ease of use: Is it easy to set up for you and your customers
We use a number of Membership plugins for our clients and ourselves but one often stands out…
Making a free membership website using Paid Memberships Pro
Despite the name, this plugin is completely free and thousands of people use this to generate hundreds or thousands in monthly income. We use it for Developer Rocket to sign up clients to monthly hosting plans as well as maintenance packages for web development and SEO. It works wonderfully for us and we highly recommend using it yourself. The best thing is that it does cost us a penny.
How to set up a free membership website with a free plugin | Paid Memberships Pro
- Download the plugin for via Plugins > Add New > Type “Paid Memberships Pro, download the first one you see
2) Once activation, you’ll be directed to the dashboard for Paid Memberships Pro. This is where you see up everything!
3) Create required pages, just click Generate Membership Pages. This will give you all the pages you need, including the Membership level page, checkout page and more.
4) Make your first Membership level. Click on Create Membership Level
5) This is fairly simple, just give it a name. This part will appear to customers so name it wisely! Give it a description and confirmation message. Here you can also set the price, you might have your members join for free, if so leave this blank. But if you want to charge real money, you have to set the price. You can set an intial payment, so when a customer signs up they pay right away. You can make this free or not.
If you want the website to take payments monthly, make sure you check the box next to “Recurring Subscription:” then you can see how much you want them to pay and how often. Most of the time this is monthly, but you can also do it yearly. If you want the membership to continue going forever, leave the Billing Cycle Limit blank.
6) Set a custom trial period: This is for if you want to allow your customers a free trial period for when they sign up. Just tick the box, here you can then allow then to have a special price for the trial period (or make it free), you can then also set a trial period of a set about of payments. If you set your payments to monthly, it would be free for the amount of months you set (3 = 3 months free).
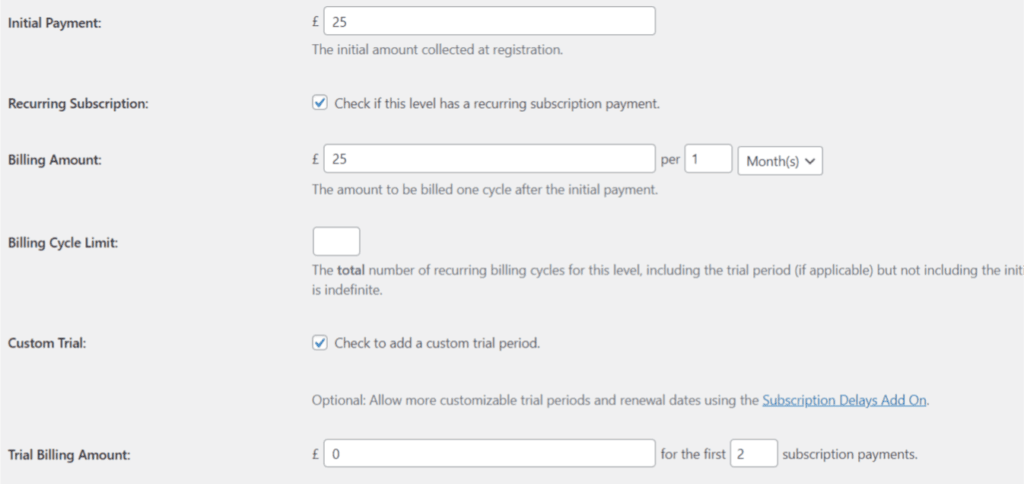
With the settings above, you can see that I have set it up to have the customers pay £25 when they sign up. Then every month they pay £25 a month. But I have allowed a custom trial period of 2 months where they get it free for the first 2 months.
7) Once you are finished press “Save Level”
8) Next you need to go back to the main dashboard of the plugin to Configure Payment Settings. You need to set your payment options, we normally use Stripe as this allows us to have a great dashboard to keep track of payments for us. But its completely up to you who you use. Many choose Paypal. If you already have a Stripe account you can just click “Connect with Stripe” once you have selected it once the drop-down menu. Then you just need to sign in and it’s pretty much done. Make sure you set your Gateway Environment to “Live” when you are ready to go live.
9) On this page, also make sure you set the currency you want to use to take payments. Once you have done this “Save Settings”
10) We’re nearly done! From here, the only thing you really need to do is edit the emails you’ll send the customers when they sign up. Click on “Settings” then “Email Settings”. Here can you change the email address that the customers will receive. Change this to your one. Then go to “Email Templates”, here you can select emails from the dropdown menu to change what each of the emails says.
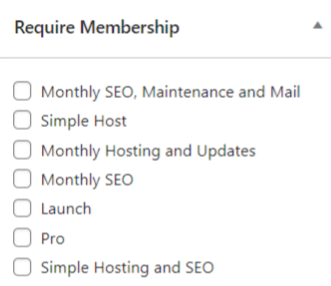
11) If you are wanting to lock content on your website to members only, you can do this on a page or post basis. Just go to the page of post you want to lock for members only, on the right-hand side you’ll see an extra section called ” Require Membership”, here you can select what membership level they need to access the content.
Start selling membership on your WordPress websites
Now that you are all set up, you can then direct your customers to sign up. Once you generated the pages, it would of make everything you needed. But you can edit these pages using Elementor. For example, we edited the page below to look nicer for our customers.
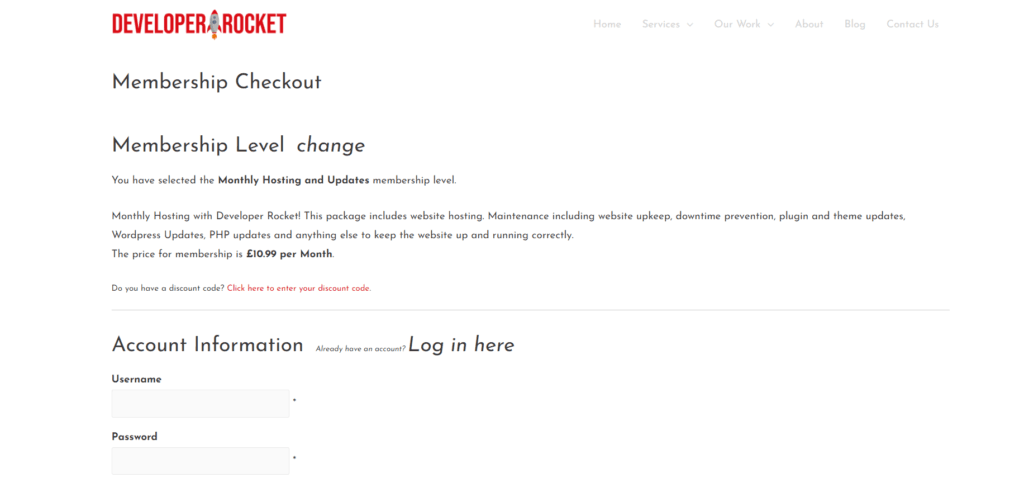
When it comes to our customers, we normally send them the link for this page. We do this because many of our customers that sign up to hosting, we have already interacted with and made them a website so we don’t get many random people sign up. But your membership model might be more automated. So you’ll have to set that up accordingly.
Now it’s up to you to make the website look great and get you some customers! You might only get a few membership sign-ups first but this quickly adds up! If you want some help with making your website using Elementor and Astra Starter sites we have a blog post for that! Click here to read in more detail how to set up your website.